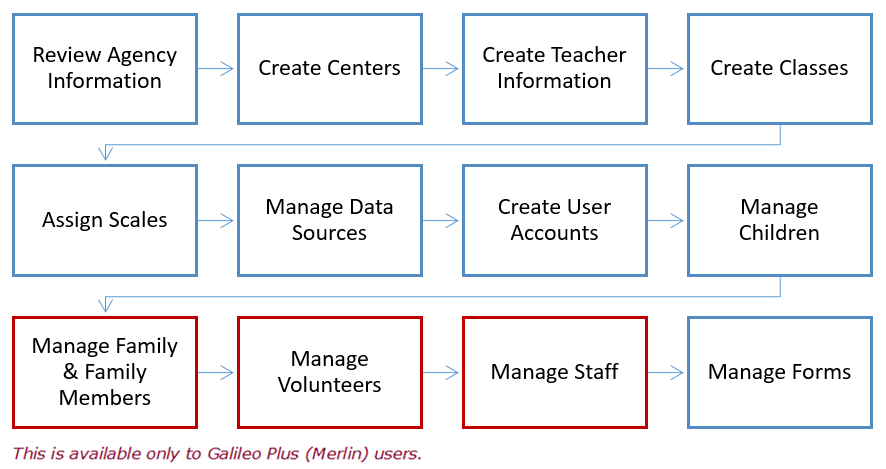

The Staff User Accounts page is where you manage all staff information, including user login, password, and form information. First, you must create a user account with defined user permissions and then you may enter additional information.
Click here for a handout on this topic
There are 3 types of staff user levels in Galileo:
User Level |
The individual is a... |
Description |
Class-level |
Teacher, Teacher Aid, Specialist |
When this individual logins, he or she will have access to information regarding the children in his or her class. By default this level user does not permission to handle child enrollment; however, they may if permission is granted. This type of account is created via the data import process or via the manual data entry of a staff accounts. |
Center-level |
Center Director, Assistant Director |
This individual has access to information regarding all classes and all children at their assigned center(s). By default this level user has permission to handle child enrollment at the center level; additional child and staff permission can be granted/removed. This type of account is created via the manual data entry of a staff accounts. |
Agency-level |
Agency/Program Director or Administrator |
This individual has access to information regarding all centers, all of the classes and all children in their program. By default this level user has permission to handle child enrollment and staff accounts; child and staff permission can be granted/removed. This type of account is created via the manual data entry of a staff accounts. |
There is an additional user account in Galileo, a Parent-level user. Individual accesses the Pre-K Parent Center - Refer to the Family User Accounts page.
A user/login name must be at least four (4) characters with a maximum of 40 characters. You may use alphanumeric characters for the login name.
1. Click Setup>User Accounts>Staff.
2. Click the Add new user link.
3. Enter the requested information.
4. (optional) Place a checkmark (or uncheck) the Force user to change password upon login field.
5. Based on the User Level selected, review the additional security options.
6. Click the:
a. Save/Back button - saves the record and returns to the previous page.
b. Save/New User button - saves the record and allows you to enter another new user.
c. Cancel button - no data entered is saved.
7. Your user entry will now appear on the User List.
1. Click Setup>User Accounts>Staff.
2. Filtering can be done by:
A Typing the individual's Name
B Typing the individual's Login Name
C Selecting the User Level from the drop-down menu
2 Click the Filter List button.
1. Click Setup>User Accounts>Staff.
2. Locate the desired staff.
3. Click either the pencil icon or the name link.
4. Make the edits and save.
Please note that the user account should be deleted in the program year in which the individual is no longer associated with. Changing the program year is done on the Settings page.
1. Click Setup>User Accounts>Staff.
2. Either:
a. Locate the desired staff and click the trashcan icon.
b. Click the Delete Users link.
i. Select the user(s) to be deleted.
ii. Click the Delete Users button.
1. Click Setup>User Accounts>Staff.
2. Click the Print User List.
3. The report appears in a new window.
Last Updated: 11.27.17